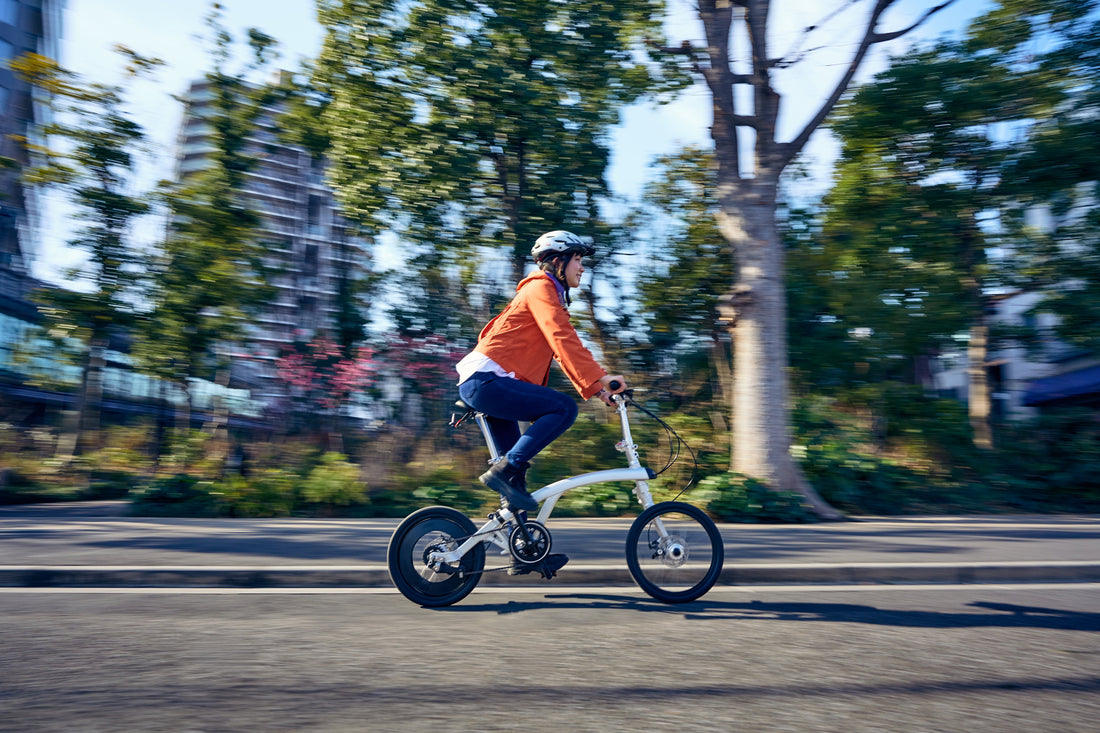
What to do when... | You receive your iruka ordered online

You’re about to unbox your iruka and head out for your first ride, right? But before you do, please complete the following setup steps. Don’t worry—it’s super easy.
1. Read through the iruka Owner's Manual
We know what you might be thinking: "Manuals are boring—I never read them." But even if it’s not the most thrilling read, going through the manual will definitely lower your chances of running into unnecessary trouble.
2. Set the Seat Post
For online orders, the upper seat post is removed before shipping. Open the cam lever on the lower seat post (referred to as the “saddle height adjustment lever” in the manual) .
Insert the upper seat post, and close the cam lever.
If the clamping force feels weak, open the lever and gradually tighten the adjustment nut by turning it clockwise. Adjust it so that the lever can still be closed, but with firm resistance. As a guideline, the force should be strong enough to leave a clear imprint of the lever on your palm when closed.
For more details about the cam lever, please click here.
For riding, make sure the maximum extension line on the back of the seat post is not visible above the clamp.
3. Secure the left brake lever
For online orders, the left brake lever is shipped in a loosened state to prevent damage during transport.
Adjust the angle of the left brake lever to match the right one.


Tighten the bolt using the included 4mm hex wrench.

4. Set the Bell
For online orders, the bell is removed before shipping to prevent damage during transit. In countries where bicycle bells are legally required—such as Japan—you must install the bell on the handlebar yourself.
Set the bell so that the striker faces forward, preferably just inside the left grip. Use a crosshead screwdriver to turn the screw clockwise and secure it.

5. Set the top cap
For online orders, the plastic cap at the front of the top tube (the top cap) is removed before shipping to prevent damage.
Insert the cap into the top tube.


From the underside, tighten the two bolts using the included 4mm hex wrench.

6. Inflate the tires
For air transport, the tires are shipped deflated to prevent damage from pressure changes. For land or sea transport, the tires may be inflated, but air pressure may decrease during shipping. In either case, be sure to inflate the tires to the proper pressure before riding.
The correct pressure is written on the tire sidewall (the example photo shows an Iruka Original Tire made by GMD for Iruka C).
A pump compatible with French valves (Presta valves) is required.
7. Learn how to fold and unfold with the instruction video.
Practice folding and unfolding along with the instruction video. After several tries, you'll be able to do it in under 30 seconds.
Now, let's pedal out! Enjoy your time with iruka.